In the last year I was involved in several DIY projects that I would like to present briefly. DIY is usually inevitable part of the audiophile hobby and it is often driven by the urge for experimenting and trying unconventional concepts that are usually not part of the mainstream commercial production aimed toward larger market segments. There are niche products as well, but they are often too expensive and not affordable. The other reason for DIY having its own special place in our hobby is the urge for perfection of a ready made component in order to get the most out of it or customise to one’s specific needs.
I have made several attempts in that direction, some successful other not. What I’ve done as DIY projects are really simple stuff involving mainly woodwork and soldering with basic level of difficulty. I am avoiding getting into complex DIY projects like building a power amplifier, DAC or phono stage. The project I am most content with is the customisation and perfection of my Fostex FE 108 Sigma based horn speakers. The project consists of removing the speaker cable terminals, creating notch filters and adjusting the damping material. Other projects I did recently were creating speaker and interconnect cables that at the end turned out to be waste of time and money. I don’t regret for these attempts of creating something myself because of the knowledge and experience I gathered. Let me start with the first, successful one.
Speaker Optimisation
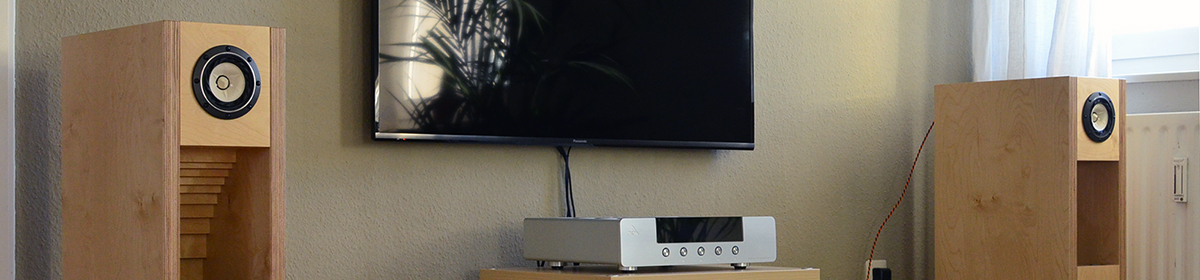
I decided to start this experiment for two reasons. First I have become aware that some parts of the speakers in my home audio system are of mediocre quality. Particularly the connecting terminals and the internal wiring needed replacement to get the most out of the speakers. My initial plan was to replace the terminals with high quality WBT Nextgen ones and the internal wiring with the one I use to connect the speakers to the amplifier. Then the following question arouse naturally: Why do I need binding posts at all? The answer is: Because of the convenience they provide when one wants to swap speaker cables. Binding posts are required if one wants to replace speaker cables without the overhead of unmounting speaker drivers and soldering.
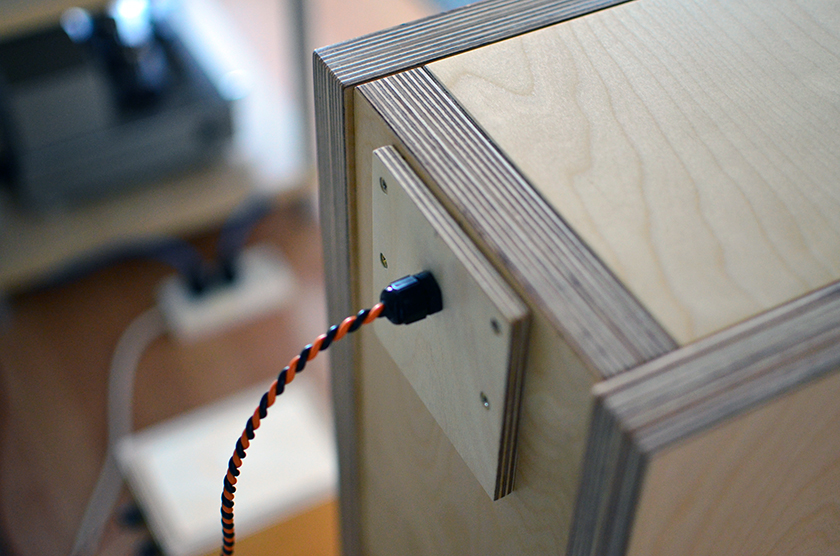
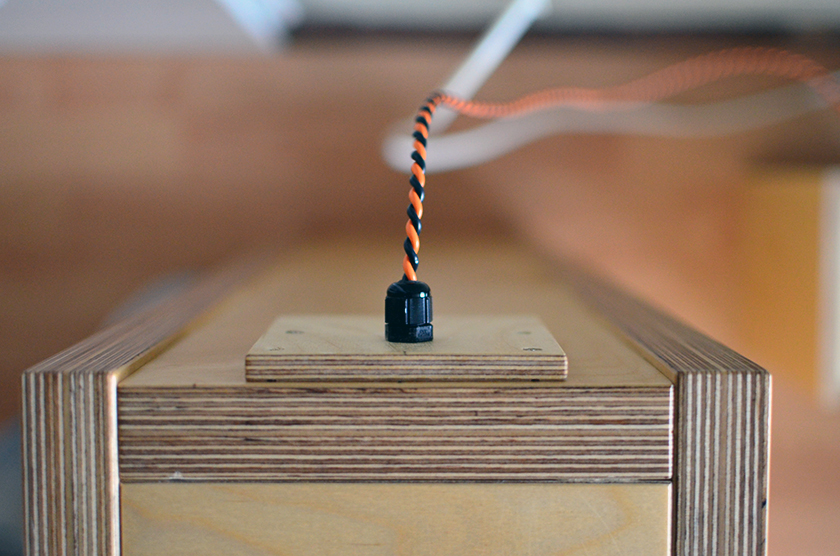
The case was that I have already tried several different speaker cables including custom DIY silver in cotton ones and I’ve already decided upon Belden 9497 tinned-copper cable. These cables characterised by its neutral tonal balance and transparency are used for internal speaker wiring by Shindo and are perfect match for my system. I am sure I am not gonna replace them anytime soon. So in my case the flexibility that terminals ensure is not a requirement. On the other side there is a well known truth in the Hi-Fi circles that the short an electrical path is the better. Removing the connecting terminals completely from the path of the audio signal will eliminate one mechanical and one soldered contact that according to the concept of the shortest electrical path could lead only to improvement. So I did, instead of replacing terminals, I decided to use cable fitting mounted on a multiplex board. I picked up cable fittings of good quality which have rubber insulation rings and screwable caps providing an extremely good acoustic and vibration insulation at the point where the cable goes out of the speaker cabinet. I applied the same cable fitting solution at the back of the notch filter compartments.

Removing them binding posts and soldering the speaker cable directly to the driver’s connecting terminals has become success. It is hard to claim improvement of the performance without proper A/B comparison but my opinion is that by removing the unnecessary contacts (obstructions on the path of the electrical signal) has brought slightly better overall performance. The modification is also cost effective because it saved me quite some bucks that otherwise I should have spent on quality connecting terminals.
Interconnect cables
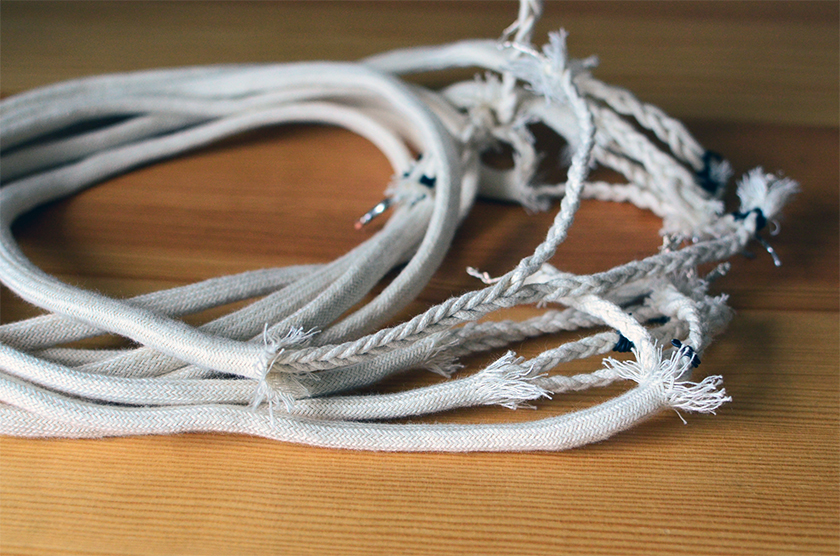
By this project I was inspired by Michael Methe’s DIY silver in cotton interconnect cables. I’ve heard also some very positive feedbacks on adopting silver instead of copper wire as interconnect characterised by its natural voice presentation and detailed heights. I bought the necessary parts and did not spare on using high quality cinch plugs. I have to confess it is quite some time consuming process to create these interconnect cables. One have first to strip out the plastic insulation of the wire, then dress it in a cotton sleeve, then braiding it and finally soldering the cinch plugs. Once I set them up in my system the difference to the previously used standard copper interconnects was quite discernible. I was astonished how much more detail I got with the silver-cotton interconnects. I had the feeling that the entire spectrum has been suffused with acoustic information that was previously missing.

Some weeks have passed since the cables were playing in my system so that the burn in time has been completed. My impression was that these cables made my system to sound too analytic, I mean one cannot really enjoy the flow of the music while being bombarded with details which somehow disintegrate the consistency and balance of a good record. So I figured out that this cable do not match my criteria and the results were rather disappointing.
The next plan was to try DIY Belden 8402 microphone cable interconnects I stumbled upon at Jeff’s Place. But then suddenly I read a very positive feedback on the qualities of Goldkabel Profi Line interconnect cables and I ordered a pair because they were also very reasonably priced. Getting this cable has turned out to be one of the nicest surprises I’ve ever had. These interconnect cables has changed my system completely and the impact was so dramatic that I was having the impression that I swapped the amplifier instead of interconnects. Goldkabel Profi interconnect cables has completely outperformed my DIY silver-in-cotton creation. I plan to write a separate entry regarding them, because I think these cables deserve a special attention and are my absolute quality/price ratio winners.
In the end it turns out that spending 4 times more than the price of Goldkabel Profi on DIY silver-in-cotton interconnects is waste of money and time. But exactly this sort of unpredictability is what makes the audiophile hobby so interesting. This is the way in which some lessons are learned too.
Speaker cables
I would not get into details here, because the technology and the results are similar to these of the interconnect siver-in-cotton cable experiment. At the end after all the effort and money invested, Belden 9497 speaker cable that costs 3 times less than the costs of this project has absolutely blown away my DIY competitor. Delivering much more relaxed and realistic presentation Belden has become my speaker cable of choice.
The conclusion
There is absolute no guaranty that DIY will succeed in excelling a ready made component, but even though, I think it worths it. In the end trying and experimenting with stuff is what keeps one going, interested and involved.