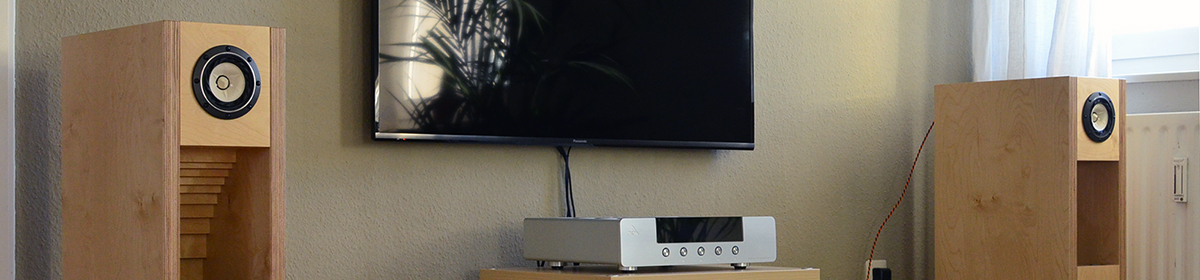
Today I would like to talk about the backbone of my system – the rack, this sacred place where all the electronic components are placed. Some of you might ask what the difference is between a regular lowboard, which one can find in any furniture shop, and a HiFi rack designed specifically for audio applications. In order to understand the difference, one should first realise what a tremendous impact vibrations can have on audio reproduction.
Once sound waves propagate through the room, every surface they encounter starts shaking. These small back-and-forth movements, in the range of several dozen microns, when transferred to the electronic components that make up an audio system, are the reason for inducing so-called mechanical noise, as opposed to electrical noise caused by the presence of high-frequency harmonics in the mains power supply. Both mechanical and electrical noise are among the main enemies of high fidelity, and trying to minimise their negative impact is one of the main occupations of an audio aficionado.
Floor vibrations propagate through the legs of the rack to its shelves, which are additionally shaken by their direct interaction with the moving air, thus transmitting vibrations to the accommodated components. Apart from providing space for efficiently stacking components, one of the main purposes of an audio-grade rack is to cut off, or at least minimise, vibrations so that they cannot affect the performance of the components it supports.
Back in the days, all the electronic components of my audio system were placed on an old TV board made of particle board, which I additionally tried to decouple from the floor by mounting spikes. However, the result was rather disappointing.
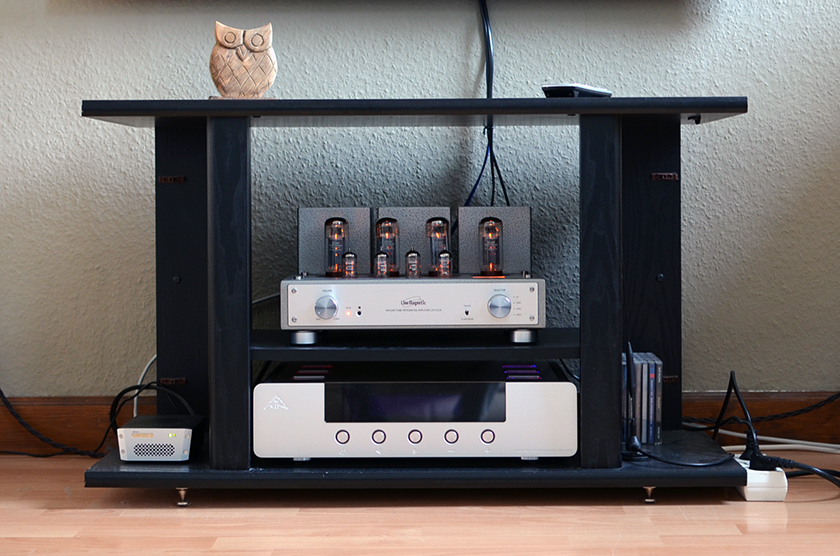
In fact, this old piece of furniture was shaking like a leaf in the autumn wind, and as a result, smeared details, midrange fizz, and a lack of definition made the presentation sound unbelievable and artificial. One simply had the feeling that something was not right.
Over time, I learned that whenever I have the feeling that something is not right, it usually means that something actually is not right, and I need to find a solution. In this case I presumed that the answer might lie in adopting a dedicated HiFi rack, so I immediately started researching the market.
There was plenty of choice available – local and foreign companies were offering various solutions aimed at eliminating, or at least minimising, the noise induced by vibrations.
Somehow, my attention was drawn to the products of the local German company called Creaktiv, which has almost a quarter of a century of experience in producing audio equipment racks.
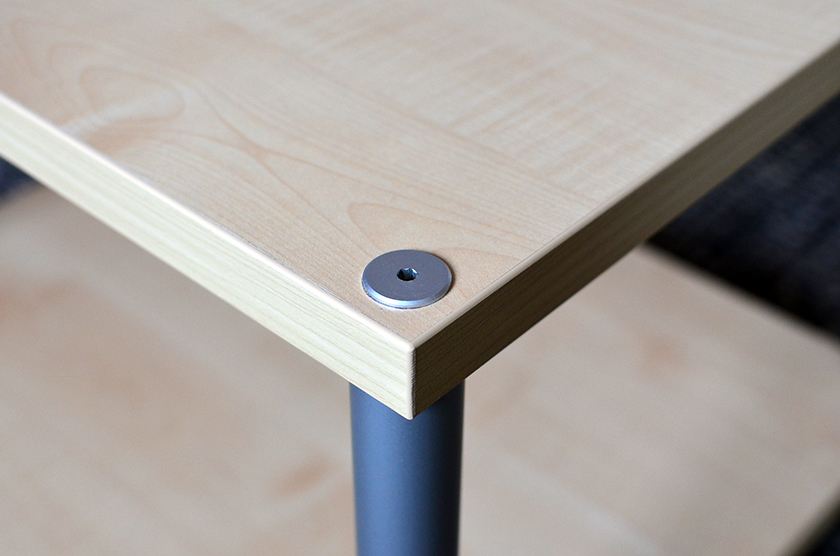
I liked the sturdy appearance of their products, based on aluminium tube legs divided into four internal chambers filled with sand, and supporting shelves made of melamine-coated particle board, which are claimed to dampen a significant amount of airborne vibrations. Through holes in the corners of the shelves, threaded rods connect them with the brass internal frame housed inside the legs, which is decoupled from the tubes themselves by means of rubber dampers.
I decided to go for the entry-level model called “Trend” because of its moderate price ($270 for the two-shelf version) and its very promising price-to-performance ratio, as reported by several reviewers and customers. I also noticed that quite a few respected HiFi dealers here were using Creaktiv racks in their showrooms as well as at dedicated audio exhibitions.
So I ordered one, and a few days later it was delivered.
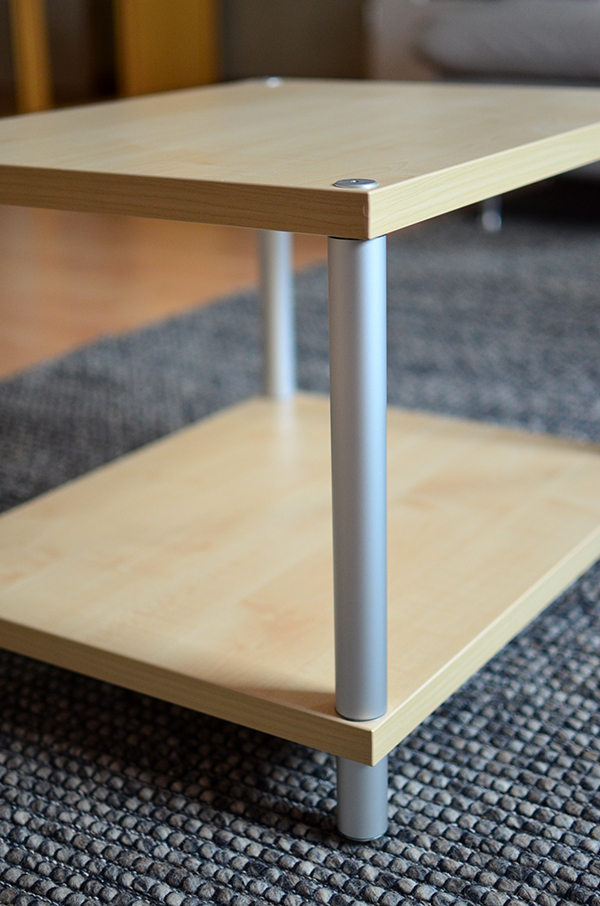
After assembling the rack, I started auditioning it, and it quickly became obvious that the bass went deeper and that there were more nuances and details in the audio presentation compared with the old piece of furniture.
Then I started experimenting with whether it sounded better with or without spikes. In the end, however strange it may sound, I preferred it without spikes, as it seemed to bring more solidity and weight to the sound.
The thing is that the room has laminate flooring, so I had used protective discs underneath the spikes in order to prevent damage. Even high-quality spikes, such as Soundcare SuperSpikes, which are used in professional audio applications, did not manage to convince me. In my opinion, the system performed better when the rack was standing directly on its feet.
I used it this way for several months until, one day, driven by pure curiosity, I decided to check how placing the streamer directly on the floor would affect the sound.
Carrying out this experiment left me in disbelief – everything sounded better when the streamer (SoTM sMS-200) was placed on the floor beside the rack. I could not believe my ears and decided to put all the components directly on the floor.
Again, the system sounded better, even though I repeated the test several times by moving all the components on and off the rack. This is a difficult and time-consuming task, but I wanted to be absolutely certain of the result.
In the end, I was bitterly disappointed by the outcome of this experiment, as it seemed to confirm that the rack itself did not contribute anything to sound quality. Although it provided an efficient and organised space for placing the components, from a sonic perspective it appeared to make things worse.
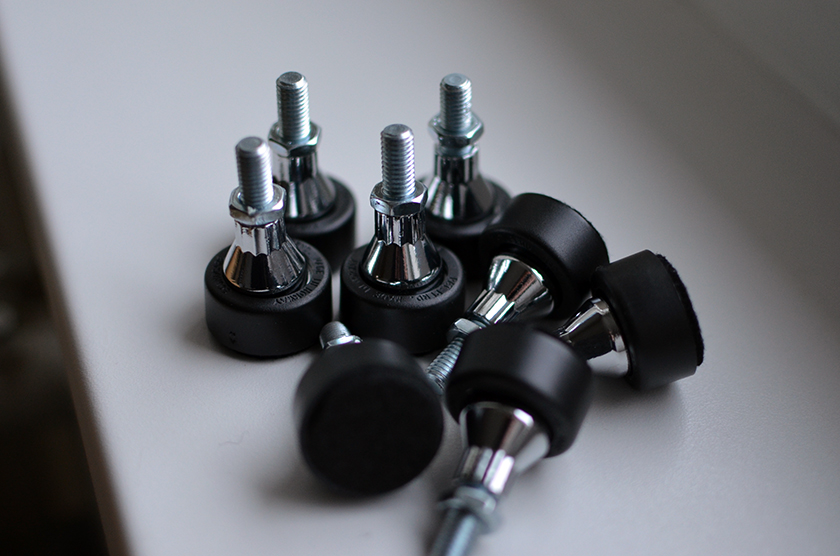
I considered selling the rack and trying another model, but then it occurred to me that I should give it one last chance by trying the recommended setup with spikes again.
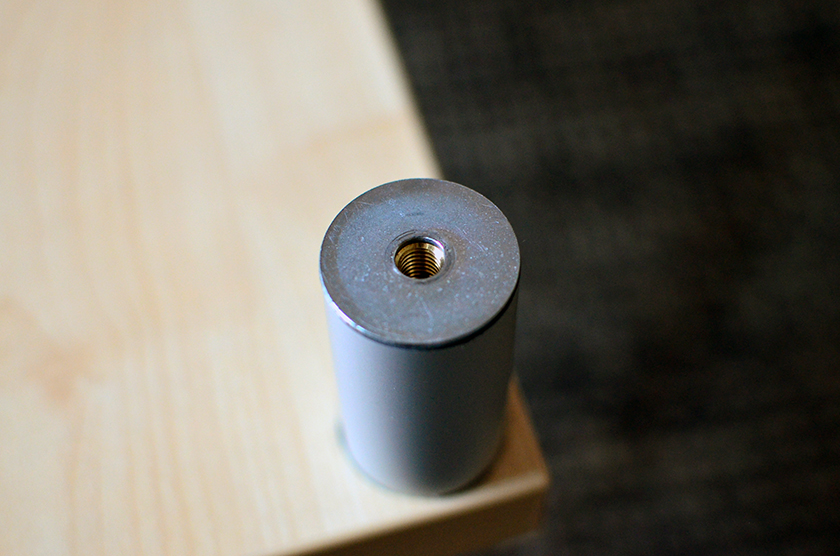
I had already sold the SuperSpikes, and I did not have any spikes available designed for use with M8 threads, which is the size of the brass inserts forming the internal frame of the Creaktiv Trend. I also suspected that the protective discs placed underneath the spikes to protect the floor might actually have been counterproductive.
Eventually, I went to the local hardware shop to see what was available. There, I stumbled upon some grub screws which, despite having conical ends, were not sharp enough to penetrate the flooring. This meant I could potentially use them without any protective discs.
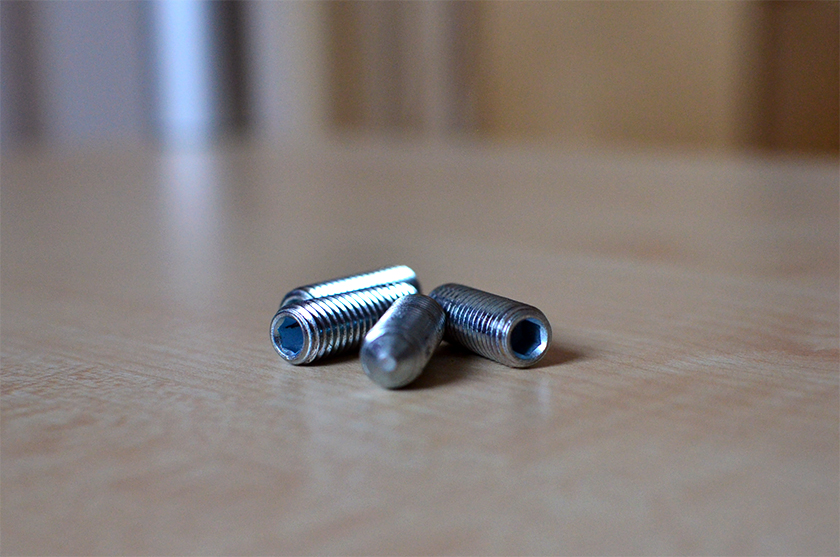
I bought a set of four M8 grub screws and the necessary cap nut for tightening them. After moderately tightening the screws, I prepared myself for another listening session.
With the first few tones coming out of the speakers, my jaw dropped. I had the feeling that I was hearing music for the first time. There was air and space between the instruments, the bass extended deeper than I had ever heard before, with a new level of weight, articulation, and clarity.
I was so happy that, after misusing this rack for several months, I had finally found the holy grail.
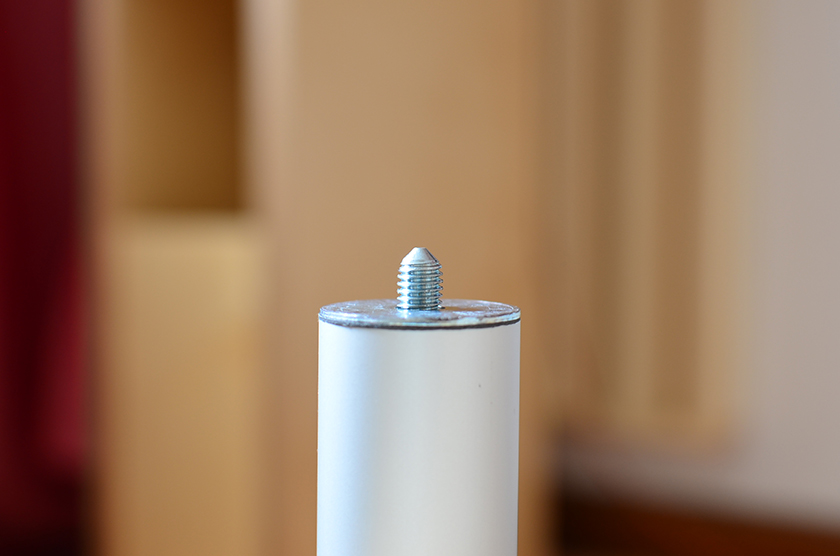
As an explanation for this phenomenon, which brought the sound to a completely new level of refinement, I would like to point out the fact that the grub screws acted as mediators between the floor and the internal rod structure of the rack.
In my previous attempts with spikes, I made two mistakes that cost me a lot. First, I used protective discs underneath them, which undoubtedly reduced the decoupling effect. Second, I screwed the spikes in completely, meaning they were in contact not only with the internal framework through their threads, but also with the bottom end caps of the legs.
Without protective discs, the only contact between the rack and the floor is through the grub screws, which connect directly to the internally threaded brass rods forming the rack’s skeleton. This structure itself is decoupled from the outer aluminium tubes by rubber dampers.
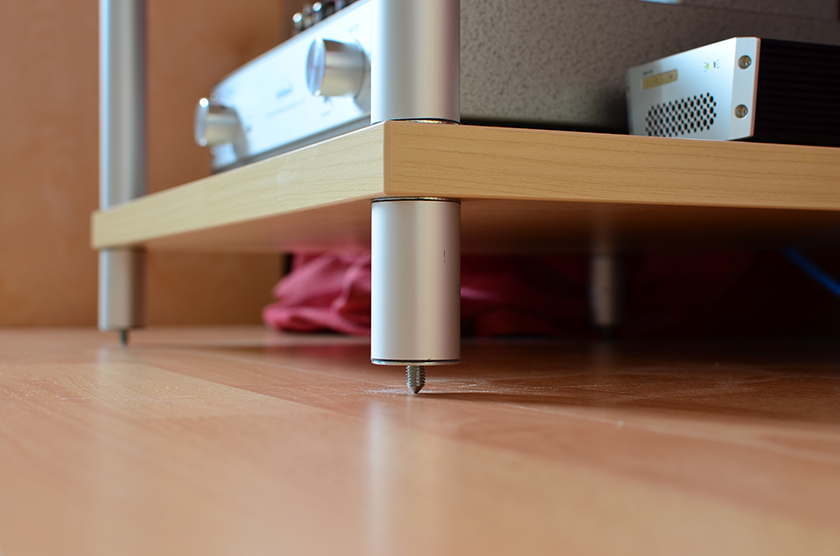
I also believe that these internally threaded rods work similarly to sleeve anchors: by tightening the rod, the sleeve expands and couples itself more firmly inside the aluminium tube. I came to this conclusion because, when tightening the screws, each additional turn becomes progressively harder, and one can feel that the tighter they become, the more firmly they couple with the outer aluminium tubes.
I continued experimenting by applying different levels of torque using a torque-adjustable wrench and noticed that the best results were achieved when the grub screws were only loosely tightened. I found that when the rack itself was tightly assembled while the grub screws remained relatively loose, the sound gained clarity and definition of an unprecedented character.

After these final adjustments, I can say that this rack is frighteningly good, and its effect in terms of mechanical noise reduction is nothing short of tremendous.
As a conclusion, I can only say that the Creaktiv Trend is one hell of a rack that is worth every cent. However, as usual, a great deal of attention must be paid to achieving the proper setup.
Thank you for stopping by, and as always, happy listening!